Gestão de Usuários em massa: tudo sobre CSV
- Para que serve o arquivo CSV?
- Como eu faço para montar e subir um arquivo CSV?
- Casos de uso comuns
- Criar um usuário novo: CREATE
- Convidar um usuário novo: INVITE
- Alterar um campo comum do usuário: OVERWRITE
- 👉Alterar o identificador único do usuário (email)
- 👉Cadastrar líderes (leader) do usuário
- 👉Resetar senha (password) do usuário
- 👉Alterar time(s) do usuário
- 👉Atualizar outros metadados do usuário (exclusivo para clientes com Looker Premium)
- Apagar algum dado do usuário
- Ações diferentes no mesmo CSV
Para que serve o arquivo CSV?
O arquivo CSV serve para fazer a gestão de usuários em massa.
Ele pode ser usado para convidar/criar usuários, atualizar determinados dados sobre eles (e-mail, username, permissão do usuário), inserir o(s) líder(es) de usuário, entre outras possibilidades que descreveremos em casos de uso.
Como eu faço para montar e subir um arquivo CSV?
Valores separados por vírgula (ou CSV, de Comma-Separated Values) é um formato de arquivo que armazena dados em formato de tabela como arquivos de texto.
Este tipo de arquivo pode ser feito via qualquer planilha, sendo apenas necessário salvar o arquivo como CSV.
Em um arquivo de CSV:
- Cada coluna é separada por uma vírgula ou algum outro delimitador;
- A quebra de linha separa as linhas.
Os arquivos CSV são usados para fazer o cadastro em massa de novos usuários no Skore ou para atualizar dados de usuários já existentes com a mesma facilidade.
Aqui apresentaremos o novo funcionamento da gestão em massa de usuários do Skore. Apresentaremos também exemplos de casos de uso comuns.
Dentre os campos do documento CSV, o mais importante é o action, que sempre deve estar preenchido nos casos de uso do CSV. Lista de campos (ou colunas do CSV):
- action: este campo determina a ação a ser executada naquela linha. As possíveis ações são: CREATE (cria um novo usuário), INVITE (convida um usuário para cadastrar na plataforma) e OVERWRITE (sobrescreve os campos de um usuário existente);
- id: é um identificador único, ou seja, podemos encontrar um usuário através dele. Este campo pode ser preenchido com username (mesmo do campo username) ou com o e-mail do usuário (mesmo do campo email), a depender da forma que você quer identificar um usuário.
- name: nome do usuário. Suporta números, letras e caracteres especiais;
- username: username do Usuário. É um campo livre que geralmente é utilizado para identificar um usuário na plataforma. Pode ser um CPF, ID de funcionário, etc. Suporta números, letras e caracteres especiais;
- email: e-mail do usuário. Pode ser o e-mail pessoal, ou corporativo, tanto faz. Formato deve ser: @email.com;
- role: permissão do usuário - student, expert ou admin. Se nada for explicitado ao criar/convidar um usuário, por padrão a permissão é student;
- password: senha do usuário. Deve possuir no mínimo 6 caracteres;
- teams: times de que este usuário participa. Para colocar mais de um, deve-se utilizar duas barras "//" como separador. Ao criar/convidar/atualizar usuários, podem-se inserir nesse campo tanto times existentes como times novos, os quais serão criados automaticamente;
- leaders: líderes deste usuário (pode-se utilizar tanto o e-mail como o username do líder). Para colocar mais de um, deve-se utilizar duas barras "//" como separador. Um usuário se torna líder automaticamente quando é inserido neste campo na linha de um usuário liderado;
- language: idioma em que este usuário acessará a plataforma. Caso não seja preenchido, o usuário terá como definido o idioma padrão do ambiente que ele está acessando. As opções são pt-BR (português), en-US (inglês), es-ES (espanhol);
Para cada tipo de action (ação) determinados campos são obrigatórios.
- CREATE (criar): action (CREATE), name (nome), username e/ou email (e-mail pessoal, ou corporativo, etc.), password;
- INVITE (convidar): action (INVITE), e email (e-mail pessoal, ou corporativo, etc.). Lembrando que o campo password não deve ser preenchido quando se escolhe essa ação;
- OVERWRITE (sobrescrever / atualizar): action (OVERWRITE), id (username ou e-mail cadastrado anteriormente), coluna que deseja alterar/excluir o preenchimento.
Metadados
Qualquer campo diferente dos citados acima será considerado pelo CSV como um metadado. Um metadado aparece como mais um campo disponível para uso nos relatórios do Looker. Exemplos de metadados: CPF, ID interno de funcionário, sexo, nacionalidade, etc. Lembre-se só de não utilizar a palavra metadata como chave para algum metadado, pois isso prejudicará o processamento correto do arquivo.
Casos de uso comuns
Aqui apresentamos alguns casos de uso mais comuns para a gestão de usuários em massa através do CSV no Skore.
Criar um usuário novo: CREATE
Muitos clientes utilizam essa ação para que os usuários não precisem configurar sua própria senha e possam logar-se pela primeira vez rapidamente.
As colunas a serem preenchidas obrigatoriamente neste caso são: action (CREATE), name (nome), username ou email (e-mail pessoas, ou corporativo, etc.) e password (senha). Os outros campos podem ser preenchidos opcionalmente.
Quando você cria um usuário através dessa ação, ele não recebe nenhum tipo de comunicação proativa do Skore, sendo papel do administrador da plataforma comunicar o usuário que ele deve se logar no ambiente e informar o e-mail e senha padrão cadastrados para ele.
Exemplo com e-mail

Exemplo com username

Convidar um usuário novo: INVITE
Diferente da criação de um usuário, a ação de convidar toma como premissa que o administrador deseja que seus usuários recebam um convite e configurem sua própria senha antes do primeiro acesso.
As colunas a serem preenchidas obrigatoriamente são: action (INVITE) e email (e-mail pessoal, ou corporativo, etc.). Lembrando que o campo password não precisa ser preenchido quando se escolhe essa ação e os outros campos são opcionais.
O usuário receberá um e-mail convite no endereço de e-mail cadastrado. Caso o administrador convide o mesmo usuário mais de uma vez, o convite válido será o mais recente, ou seja, o último a ser enviado.
Exemplo

Alterar um campo comum do usuário: OVERWRITE
Para alterar algum dado do usuário, utilize a ação OVERWRITE. Esta ação literalmente substitui as informações existentes pelas novas, portanto, tenha bastante atenção ao preencher este CSV.
As colunas a serem preenchidas obrigatoriamente são: action (OVERWRITE), id (username ou email cadastrado anteriormente), coluna que deseja alterar/excluir o preenchimento. Os outros campos são opcionais.
Exemplo: Mudar o nome de "João" para "João Henrique"

A seguir daremos exemplos mais específicos de casos de uso do OVERWRITE.
👉Alterar o identificador único do usuário (email)
👉Cadastrar líderes (leader) do usuário
👉Resetar senha (password) do usuário
👉Alterar time(s) do usuário
👉Atualizar outros metadados do usuário (exclusivo para clientes com Looker Premium)
Apagar algum dado do usuário
Neste caso, utilize também a ação OVERWRITE e preencha os campos que deseja apagar com o valor [DELETE]. Com isso, o campo ficará com um valor vazio na base de dados.
Exemplo: Removendo os líderes de um usuário

Ações diferentes no mesmo CSV
É possível fazer diferentes ações dentro de um mesmo CSV, como no exemplo abaixo:

Neste exemplo, criamos dois usuários (um com username, outro com e-mail), convidamos um para criar uma conta no ambiente, mudamos informações de mais trˆês (um o nome, outro o e-mail e a senha de um último).
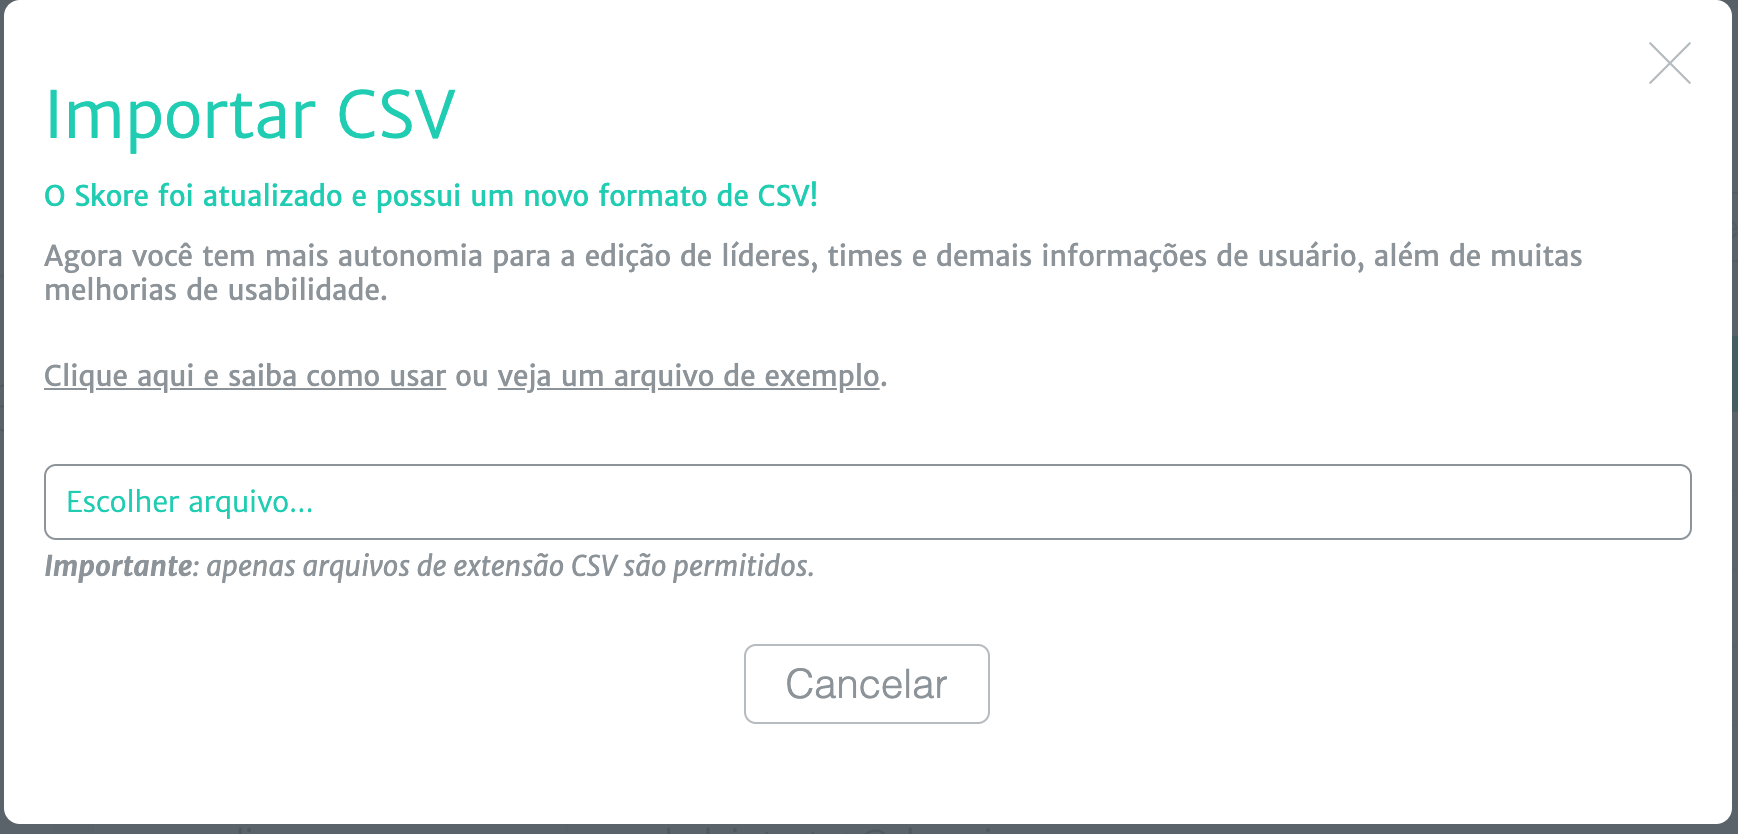
Importando o arquivo CSV
Uma vez que o arquivo CSV estiver pronto, basta importá-lo para o Skore:
- Acesse a plataforma e clique em Ir para o admin.
- Acesse Configurações > Convites;
- Clique em Opções no canto superior direito e selecione Importar CSV;
- Se você não tiver montado o seu CSV ainda, você pode abrir o arquivo de exemplo, aqui;Ah, você não precisa utilizar todas as colunas desse arquivo, ok? Por exemplo, as colunas metadata1, metadata2 e metadataN são só exemplos para metadados, mas utilize os termos que forem adequados para a sua empresa, ok?
- Localize o arquivo *.csv em seu diretório local e faça o upload dele;
- Pronto! Agora é só aguardar o processamento do seu arquivo e o envio do e-mail com o resultado. O processamento de muitos usuários pode demorar um pouquinho, então tenha um pouco de paciência, ok?
E-mail com o resultado do processamento
Toda vez que você administrador importar um CSV no Skore, você receberá o e-mail CSV Resultados de Importação.
Nesse e-mail, é discriminado quantos usuários foram criados, atualizados e/ou convidados com sucesso. Além disso, é apresentado o número de usuários que não foram criados, atualizados ou convidados por apresentarem alguma falha no preenchimento do CSV.
Quando houver algum registro com falha, será enviado em anexo um arquivo CSV com as linhas que não foram processadas e quais os erros encontrados em cada uma delas.
Assista aqui aos nossos vídeos sobre a gestão de usuários via CSV e, se tiver qualquer dúvida, entre em contato com a gente, pelo canal support@skore.io.
Tutoriais em vídeo
Na Parte 1, aprenda quais são os principais campos do arquivo CSV.
Na Parte 2, saiba quais são todos os campos possíveis de um usuário.
Na Parte 3, veja alguns casos de uso, como criar um usuário, convidar um usuário, alterar username/times/e-mail de um usuário e remover o e-mail de um usuário.
Na Parte 4, aprenda a salvar o arquivo como CSV e subi-lo no Skore.